PACKING TIPS FOR KILIMANJARO
Here’s all you need to know from head to toe when preparing and packing for Kilimanjaro.
Your Kilimanjaro trek may only be 7 or 8 days in length on the mountain, however the planning, preparation, training and not to mention the kit research and gathering/renting/borrowing/buying makes this journey a much longer and even more exciting one. If you choose to take on this once in a lifetime trip with Adventurous Ewe, we’ll be there every step of the way for you with full support, top tips, recommendations and suggestions following decades of climbing the world’s highest freestanding mountain and leading expeditions across the diverse continent of Africa.
So get yourself comfy and have a read of our Packing tips for Kilimanjaro which we hope you find useful (and exciting).
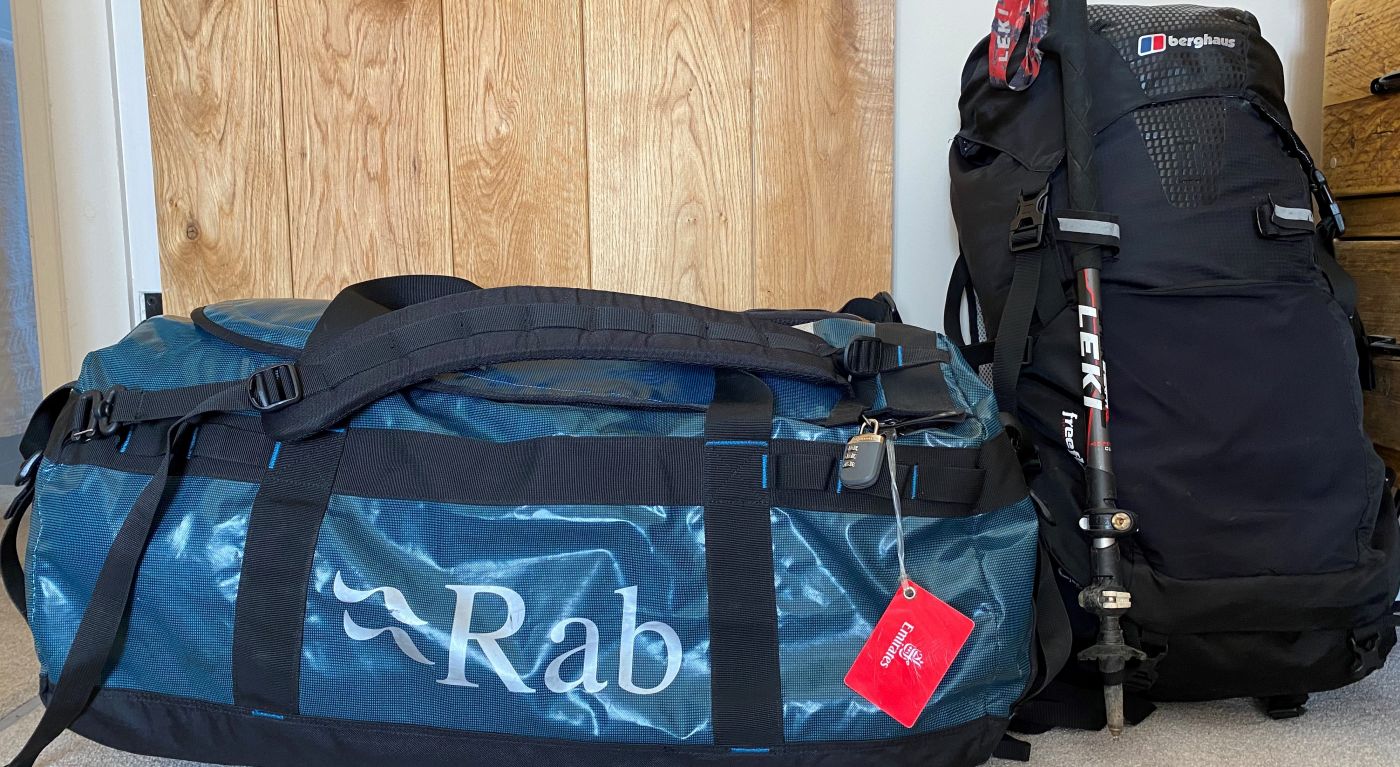
Firstly, what are you going to carry all your kit in?
BAGS, BAGS, BAGS
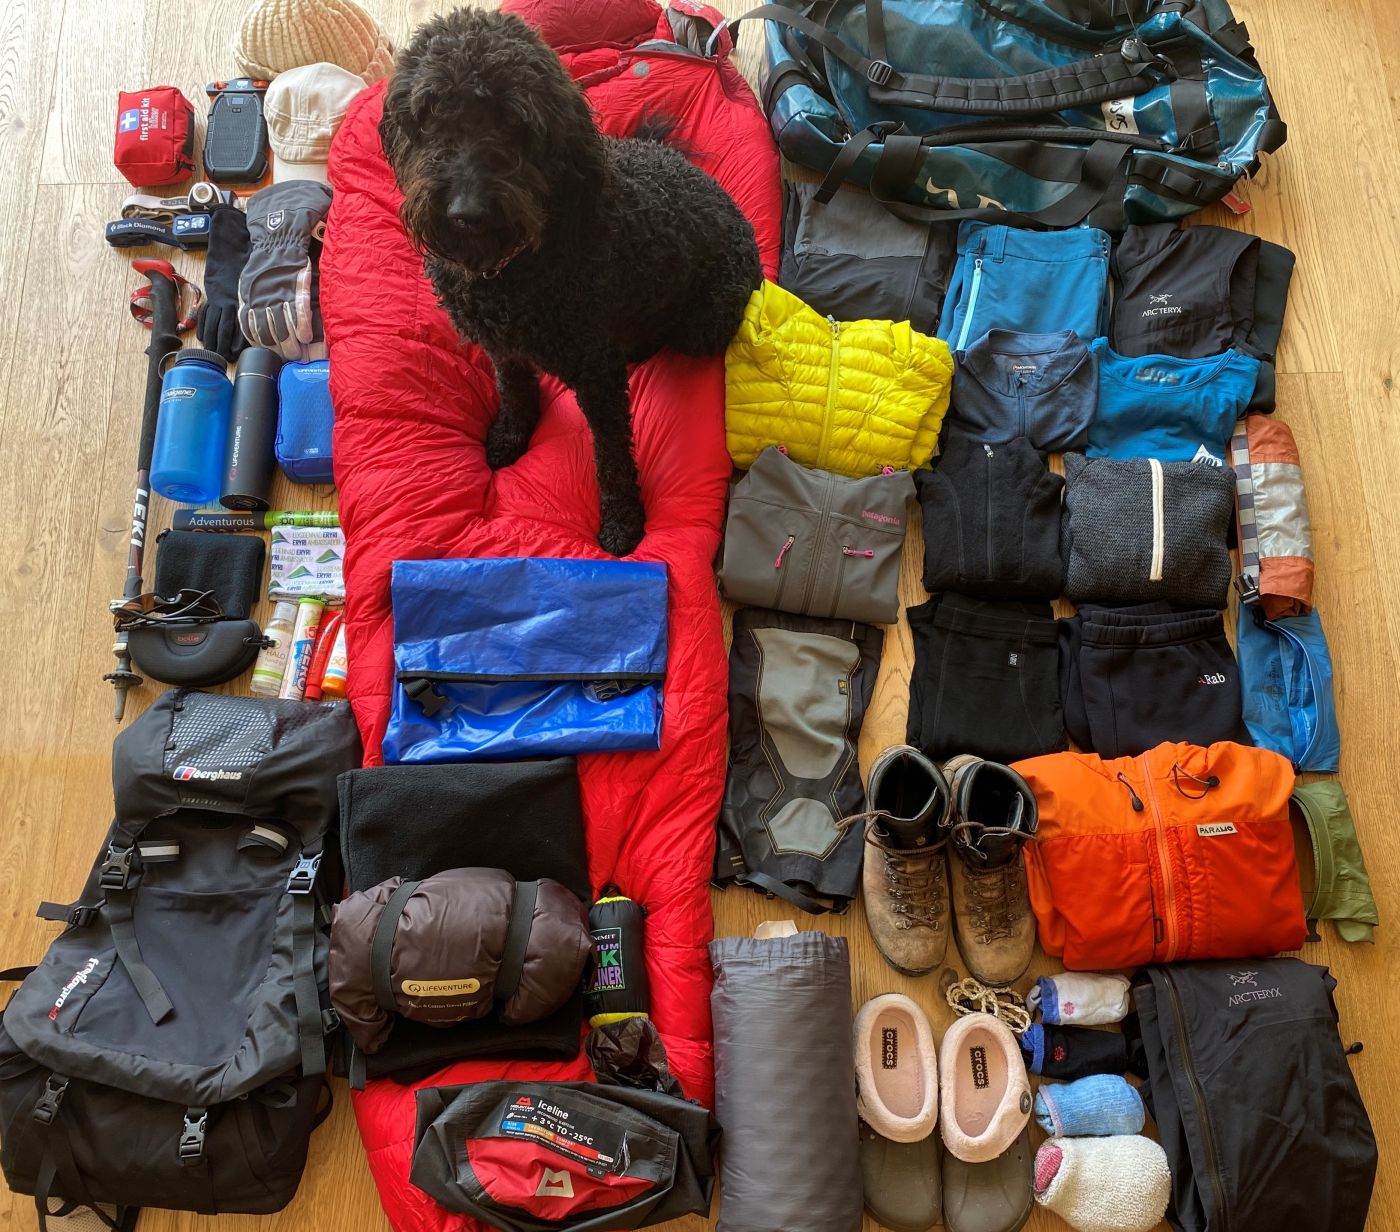
Rucksack: This is the back-pack you will personally carry on the mountain. Get the right fit and you’ll have a pack that is comfortable, supportive and stable, get it wrong and shoulder, hip and back pain may ensue. The most reliable way of finding a pack that’s suited to you is by visiting a reputable outdoor store who will provide a personalised pack fitting service. We recommend a 30 – 35 litre sized pack in order for you to carry a minimum of 3 litres of water, warm layers, hat/beanie, gloves, water-proof jacket & trousers, snacks, head torch, first aid & any medication, hand sanitiser, lip balm, etc. A pack which can hold and facilitate a water bladder and stowage of trekking poles is best. A hip belt is ideal for support/weight loading and with hip belt pockets so you can have easy/quick access to things such as hand sanitiser, lip balm and your favourite snacks. We also recommend that you try a variety of packs on so you can find which one is most comfy and you’re happy with in terms of pockets, access, etc.
Check out Osprey Tallon 33, Osprey Womens Tempest 40, Low Alpine Airzone Trail 35, Montane Azote 32L Backpack or packs similar to these.
Rucksack rain cover: In the case of heavy rains, especially on the lower slopes of Kilimanjaro, this cover can go on your rucksack to help keep the contents of your pack dry. Most packs now come with their own rain cover, however, to ensure extra protection of your valuables such as passports, documentation, camera, etc. we recommend you pack these inside a dry bag/s.
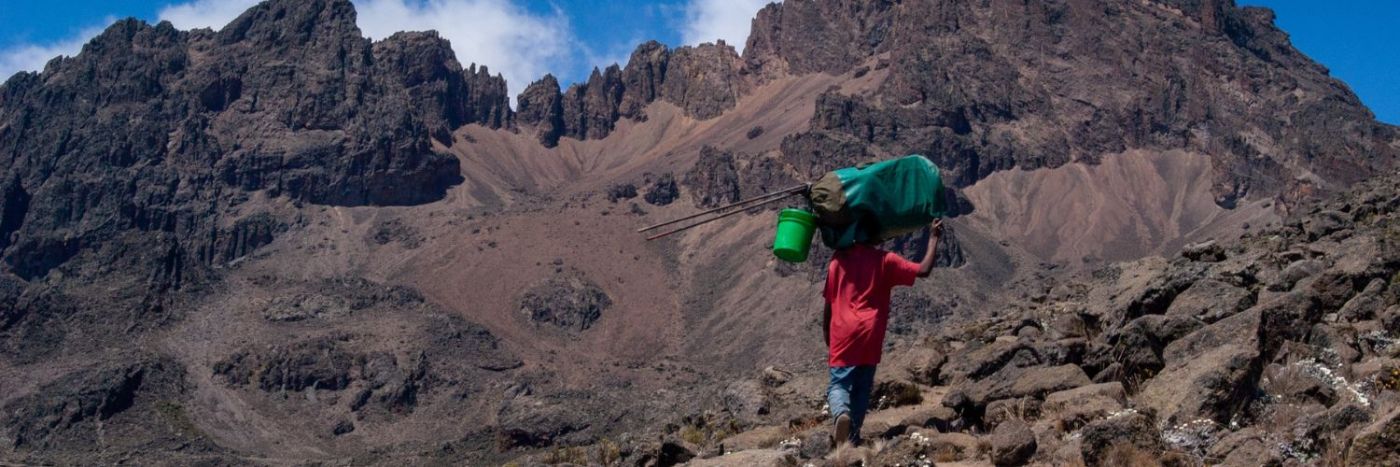
Duffel Bag/Kit Bag: This is your main bag which the porters kindly take on the mountain for you, so please by mindful of this when packing and organising your kit and your bag is not to exceed15kg/33lbs in weight. The porters will not carry your kit bag as a backpack, they typically carry the bags across the top of their shoulders, therefore a duffel bag of between 80L – 100L without wheels is the best type of bag to use.
We’re big fans of the Patagonia Black Hole® Duffel 100L as it’s great for adventure travel and is made with 100% recycled body fabric, lining and webbing or check out the Mountain Equipment Wet & Dry Kit Bag 110L or the Rab Kit Bag II 80L – 100L.
Some helfpul packing tips for Kilimanjaro to consider regarding bags:
- Straps – comfy straps including shoulder & waist straps
- Waterproofness – ensure they’re constructed from tough and durable fabrics which offer some water resistance but can also be coated with a Durable Water Repellent treatment to increase wet weather protection. Use a pack liner or dry bags; not only do they protect from moisture they also make organising gear a lot easier.
- CamelBak/Platypus/Water Reservoir capable – If you plan to take a bladder system for hydration, ensure your rucksack has a section for this system.
- Dry bags – pack your kit inside dry bags. Not only will it help keep your kit and sleeping bag dry, it will help you keep your items more organised. Have a spare dry bag for your laundry and one for your camp shoes.
Hotel bag: So that you can leave stuff at your hotel. Ensure your bag has a name tag attached.This only needs to be a small bag. A draw-string backpack, a large dry-bag or similar would work perfectly.
UPPER BODY
T-Shirts: We recommend Merino wool or moisture wicking based fabrics (not cotton) t-shirts. 2 x short sleeve shirts and 2 x long sleeve shirts. Unlike cotton and synthetic materials, merino wool will not build up bacteria and therefore will not become as smelly as quickly! Because of this, with merino wool items, you can bring less with you.
Base layer: Merino wool long sleeved thermal and leggings x 2 sets. One to wear on the higher slopes of the mountain and one for camp/sleeping. We recommend investing in a warmer set to use on the higher slopes particularly on summit night as it gets colder the higher you go. Check out Smartwool or Icebreaker base layers.
Mid Layers: This is going to be your warm, insulating layer. This can range from Merino Wool 200+ weight, to fleeces, to light down or synthetic jackets. You will need just one or two of these layers because they do not touch your body.
Waterproof Jacket: Essential to have a good quality and breathable water-proof jacket with an adjustable hood to protect you from the rain, snow and wind. We recommend the following fabrics: Gore-Tex Pro, Gore-Tex or Páramo. This is an essential piece of kit.
Outer Layer: Good quality down jacket ie. Rab Summit or Mountain Equipment Cho You. Typically you’ll wear this every morning and night in camp and you will want to have a high quality goose down jacket. This is an essential piece of your kit to keep you warm in the freezing temperatures plus it can be shooved inside your sleeping bag cover and used as a pillow (that way you know where it is when you have to get up for the loo at night too). It should be noted that, in particular, more down is the key. The fill number is not as important. This type of kit is available to hire if you feel you will never get the use out of a quality down jacket again. Hiring details can be found towards the end of this blog.
LOWER BODY
Shorts: (light weight) good for hiking while at lower elevations. Nylon or synthetic fabrics are best and you will only need one pair.
Trekking trousers: two pairs – light-weight & breathable x 1 (zip-off trousers legs for use as shorts is ideal for start and finish days on mountain) and soft-shell/wind-proof trousers x 1 for higher altitudes.
Fleece trousers: Every night when you arrive at camp, you will want to change your clothes from your trekking clothes. We recommend a pair of warm fleece pants or a track suit pants. You’ll only need one pair.
Waterproof trousers: You will need to have one pair of waterproof trousers that can be worn over your trekking pant in case of rain/heavy snow. This is essential when walking through the rain forest and possibly on summit night too. Ensure they have a zip in the leg so you can put them on over your hiking boots. Again, we recommend the following fabrics: Gore-Tex Pro, Gore-Tex or Páramo.
Gaiters – (optional) water-proof knee-high gaiters which will prevent snow and scree from entering your boots particularly on your summit descent.
Underwear – merino wool or wicking material, not cotton. How many pairs is up to you.
HANDS AND FEET
Hiking Boots: A good pair of hiking boots will make or break your Kilimanjaro experience. Some days (particularly summit night) your feet will spend around 10 – 14 hours in these babies. If they’re not the perfect fit your feet are going to let you know very quickly and painfully, jeopardising your Kilimanjaro experience.
Get your boots fitted properly at a hiking store, no ifs or buts. Ask if they have a ramp you can test them out on too. Walking up and down hill puts pressure on different places; buying a pair of boots that bruise, blister, and batter your toes on a downhill is even less fun than it sounds.
We recommend the Salomon Quest 4D 3 GTX, Scarpa Ranger Activ Lite GTX, Scarpa Trek GTX and La Sportiva TX4 Mid GTX boots or similar. A top tip, on summit night you will be staring at your boots for a long time, so make sure you’re a fan of them or even brighten them up a bit with some bright coloured laces or something that makes you smile/remember why you’re doing this trek.
Lightweight Shoes: Without doubt you’ll want to take your boots off when you arrive in the camp each night. Trainers or crocs are ideal for this as they are light and durable! This will give your feet a break from your hiking boots yet still provide protection and warmth in camp and they’re easy to slip on for that midnight pee.
Socks: We recommend either Merino Wool or a synthetic material (again not cotton) as they will help to keep your feet dry and comfortable. As a guideline we suggest liner socks x 2-3, merino wool mid weight hiking socks x 1-2, merino wool mountaineering thick socks x 1. We recommend Smartwool Merino Mountaineering Extra Heavy Crew socks for summit night.
Gloves: You will need one pair of warm, waterproof insulated outer gloves or mitts plus one pair of smaller liner gloves. The warmer gloves need to be a warm glove, similar to what you would wear to ski in. These are essential to keep you warm in the freezing temperatures. You will also want a thin liner glove for the less frigid temperatures or to wear inside your thick outer gloves for extreme temps. Gore Tex outer shell is ideal or we recommend Hestra Alpine or Mountaineering gloves.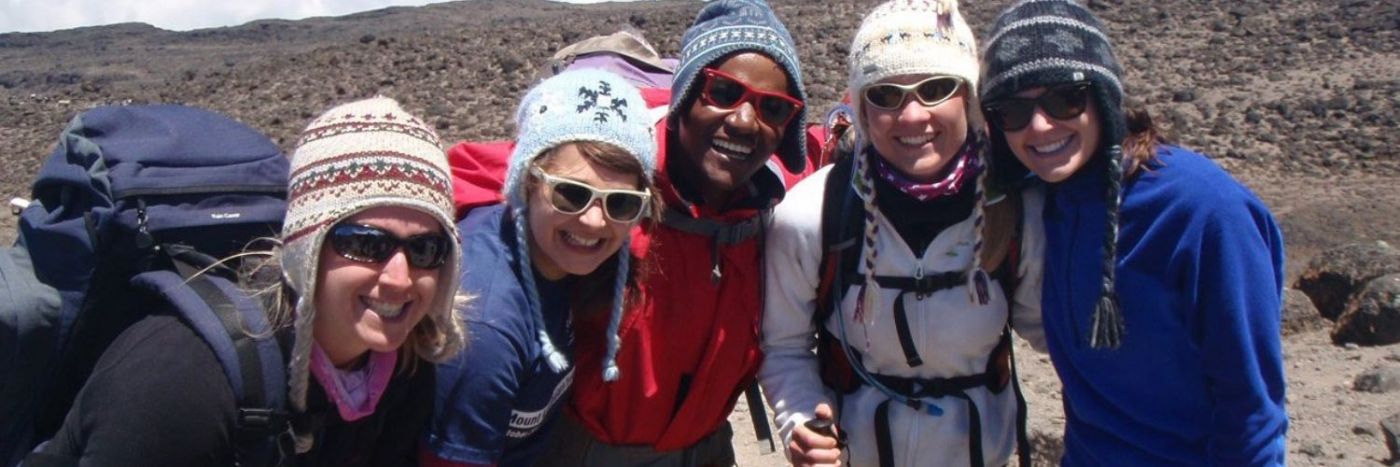
HEAD AND NECK
Sun Hat: Ideally your hat needs to have a full brim to cover your ears, neck and face from the strong rays of the sun. You will definitely rely on this to keep you from burning and dehydrating, which could potentially ruin your trip and experience.
Beanie Hat: A warm fleece or wool hat to keep you warm in the cold temperatures. No doubt you’ll be wearing this every night/morning in camp (maybe even when sleeping) and definitely on summit night.
Buff/Neck Gaiter: For sun protection and warmth. Ideal for descent on scree as it can be very, very dusty (plus they come in handy when using camp loos to cover your nose). Therefore, pack at least 2 x buffs. If you’re sensitive towards toilet smells, a top tip is to liberally spray your buff with your favourite perfume and use this as a nose & mouth cover when visiting the loo.
Sunglasses: They need to have strong UVA/UVB protection and ideally be a wraparound pair of sunglasses. Preferably category 3 or 4 to protect against harsh UV rays and ice-glare at higher altitudes. We suggest to have a spare pair as well just in case.
STAYING PROTECTED
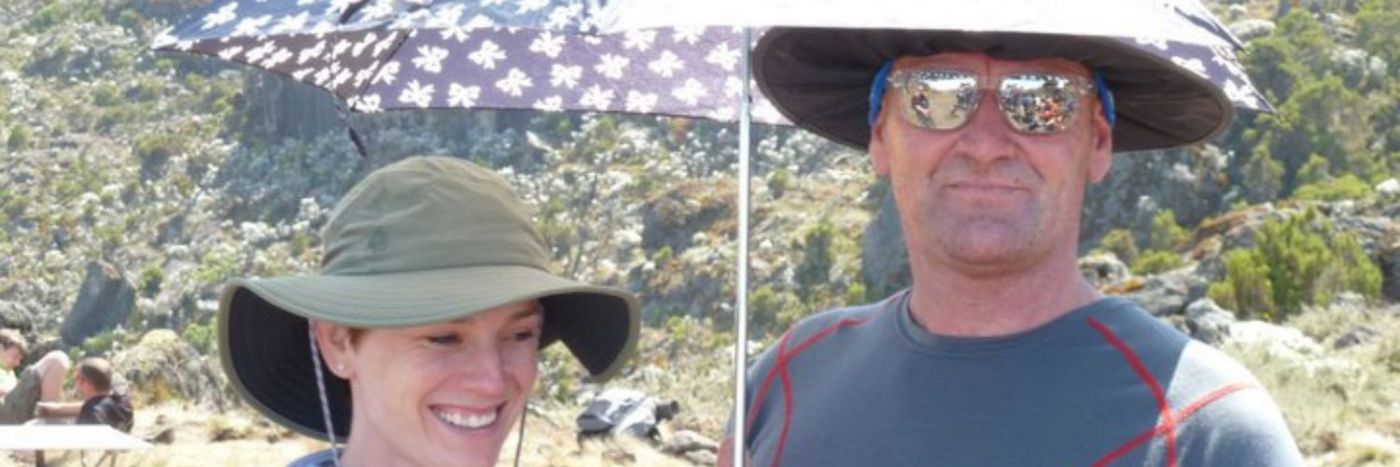
Sunscreen: We recommend using Factor 50 + to protect you from the suns rays especially at high altitude. Make sure you apply and reapply to all areas of the skin that are left uncovered ie. face, lips, ears, back of hands, etc. Plus bring a brollie if you wish. A small compact lightweight umbrella will help in the rainforest on day one (as it does rain) and for sun protection higher up the mountain if you wish to use it.
Lip Balm: Ensure you have lip-balm or Vaseline for your lips which can also be used on your nose (prevents moist air freezing in nostrils at high altitude).
Hand Sanitiser: Ensure this is easily accessible at all times – trekking, mess tent, camping and the loo.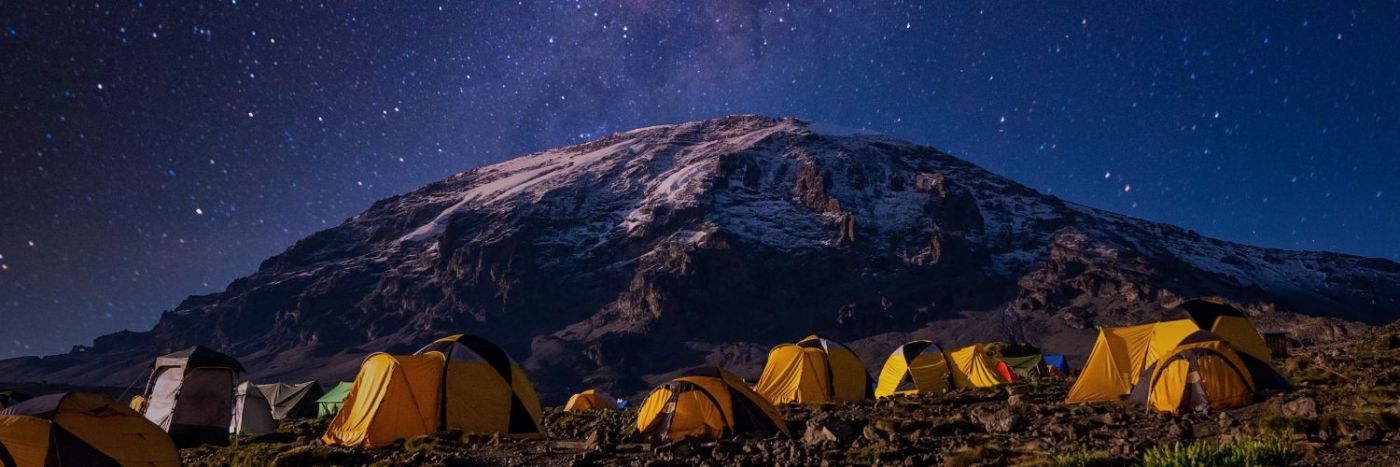
SLEEPING
Sleeping Bag: It’s essential that you invest or hire a good quality sleeping bag as it gets very cold on the mountain. The information for sleeping bags is displayed as a set of three temperature ratings:
-
- Comfort Temp – this is the temperature at which a ‘standard’ adult woman can expect to have a comfortable night’s sleep.
- Limit Temp – this is the temperature at which a ‘standard’ adult male can expect to have a comfortable night’s sleep.
- Extreme Temp – this is a survival only rating for a ‘standard’ adult female. At this temperature there is a serious risk of hypothermia.
We recommend a 4 season (comfort level -20°C) sleeping bag as they’re designed for winter trekking. They feature the highest quality components and superior materials to keep you warm.
Types of insulation
Sleeping bags are filled with either down or synthetic insulation; both have their pros and cons and will affect the performance, weight and price tag of the sleeping bag.
Down
Ounce for ounce nothing insulates as effectively as down. Down filled bags are very light, warm and compressible, and when cared for correctly will last for many years.
Pros – Light, warm, compressible
Cons – Susceptible to moisture, more expensive.
Synthetic
Synthetic insulation retains a much higher percentage of its insulating properties when wet. It also tends to be easier to clean and comes with a more wallet-friendly price tag too.
Pros – Good water resistance, easier to care for, cheaper
Cons – Heavier and bulkier than down equivalent.
Thermarest: This self-inflating mattress (though typically they don’t really self inflate). We strongly recommend you have a full length sleeping mat to protect you from the coldness of the ground. You will be sleeping in tents every night and you will need to make it as comfortable as you can for yourself. If you want to treat yourself, invest or hire a thicker Exped 9cm mat.
STAYING HYDRATED
Water Bottles: We recommend having two wide-mouthed Nalgene or similar bottles. These are a thick plastic bottles that are easy to fill and typically will not freeze on summit night, especially when you tuck them inside your clothing. A top tip, you can fill your bottle with boiling water at night to act as a hot water bottle and then drink when you wake in the morning (it’s always good to aim to drink 1 litre of water before your start trekking each day). You will not be able to do this with metal bottles. Another great tip is to buy a 500ml Nalgene and fill it with small snacks (ie. mixed nuts & fruits) as it’s easy to undo the lid and tip into your mouth! Great for summit night.
CamelBak/Platypus: This hands-free hydration system is essential to keep you drinking plenty of water on the trail. We recommend a minimum of a 2-litre reservoir so you can easily sip water during your hike without having to stop or needing to take off your daypack. Top tip, ensure you have a cover for the bite valve to keep it clean and free from dust. On summit night, make sure you take your Nalgene bottle and place it inside your clothing which you can use for drinking. The straw system on your CamelBak/Platypus will freeze, even with insulation, on summit night. However this will unfreeze during your descent and serve you well for keeping hydrated for such a long stint on your feet.
Water Purification Tablets: The drinking water provided on our Kilimanjaro treks is Katadyn filtered, however, you may wish to add water purification tablets as well. If you book your Kilimanjaro Trek through Adventurous Ewe, you will receive a free Water-to-Go bottle which not only provides you with clean and safe drinking water, it helps eliminate our single use plastic footprint in Tanzania.
Electrolytes/rehydration/flavouring: The water may not taste the same as your drinking water at home, so it’s great to have some flavouring to ensure you’re taking on sufficient fluids during your trek. Keeping hydrated is imperative when trekking at altitude, therefore electrolytes and rehydration sachets are strongly recommended too.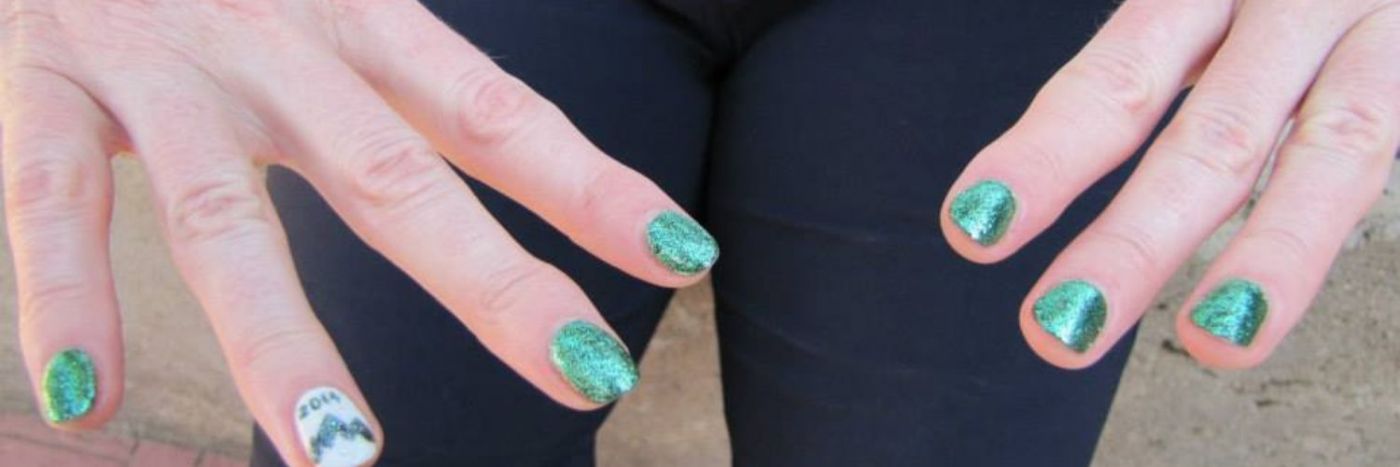
STAYING CLEAN (as best you can on a mountain)
Towel: bring a small microfibre towel which dries super fast and is lightweight. You’ll be provided with a bowl of water each day to wash your hands/face, so a towel or small face washer is great to have. For a bit of luxury, bring a small bar of biodegradable/antibacterial hand soap too.
Eco-friendly wet-wipes and/or lightweight biodegradable towels – we recommend the tube towels which are much lighter to carry whilst also being biodegrable.
Biodegradable loo paper/tissues – if you need to go to the loo whilst hiking on the trail. If mother nature does call amid your trek, please be considerate to the environment, other users of the trail and the natural state of the mountain. Take all toilet tissue with you (ie. in biodegradable dog poop bags), which can then be disposed of when you reach camp.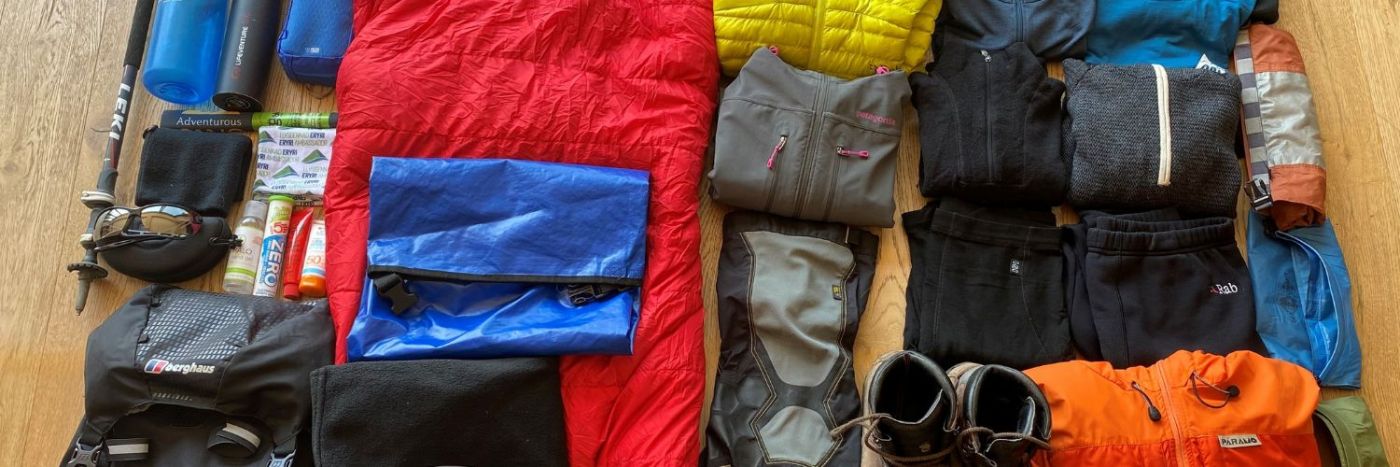
STAYING PREPARED
Head Torch: Essential for mornings/evenings at camp as well as all night on your summit attempt. Keep this in your sleeping bag at night to keep it warm in order to reduce the batteries/charge being zapped by the cold, plus you know where it is if you need to get up during the night.
Spare Batteries: This is for your head torch and your camera. Again, the cold weather tends to shorten the life of batteries. Therefore, a solar charger is ideal and/or storing any battery powered kit in your sleeping bag at night to try and keep them warm-ish.
Pocket knife/Multi tool: Always comes in handy, though remember to pack it in your main kit bag when flying.
Duct tape: For any repairs. Though don’t bring the whole roll, just wrap some around your drink bottle/s or trekking poles so it’s there if you need it.
Trekking Poles: Adjustable poles are always ideal as they are easy to store in your daypack. Trekking poles will really help with your long descent from the mountain and also great for balance and reducing the impact on your knees.
Small Mirror: Not essential, but some people are happy to have.
Nail brush: again not essential, but some people prefer to have one. Or simply paint your nails before your trek to hide the dirt.
Book/Card game: You may want to have a book or cards to use at camp at night when you have down-time.
Camera: Ensure you have plenty of space on your memory card/s or mobile phone for photos and videos. Plus some spare batteries. Please note, there are no facilities to charge any devices on the mountain, so you need to be self sufficient with your own power packs or solar chargers (or both).
Personal Toiletries: Everything you need on a daily basis (contact lenses, glasses, bamboo toothbrush, toothpaste, feminine products, etc.). For women, we recommend reading this article written by the UIAA – International Climbing and Mountaineering Federation on Advice for Women Trekking at Altitude.
STAYING WELL FUELLED
Trekking with Adventurous Ewe means you will receive breakfast, lunch and dinner every day on the mountain which are all freshly prepared plus you’ll enjoy afternoon tea when arriving in camp each day.
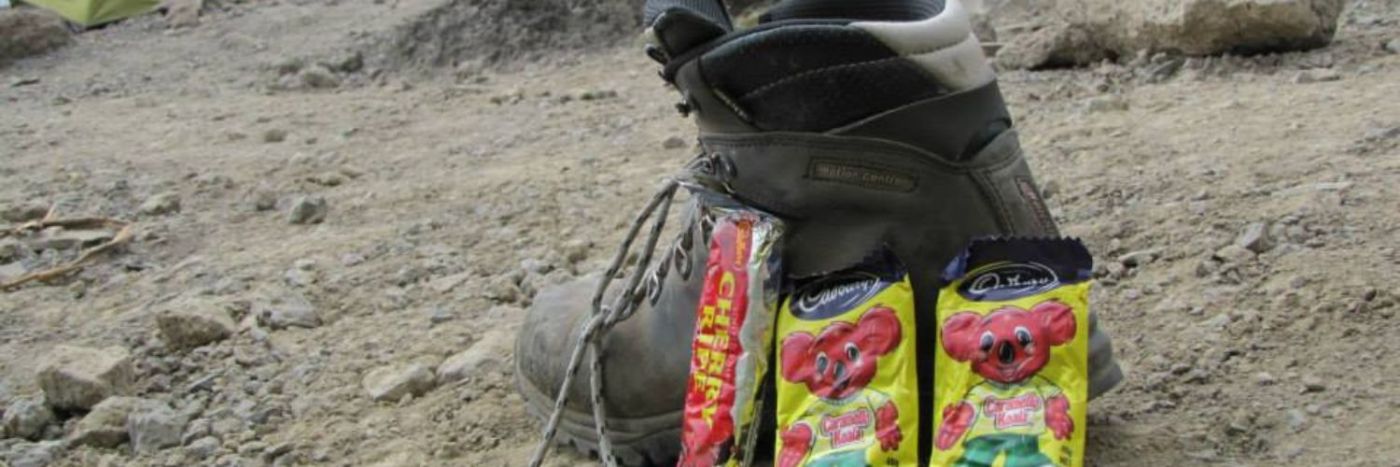
We strongly recommend bringing your own snacks for the trail itself plus any favourite treats from home whether it’s your preferred tea/coffee, breakfast spread, tabasco sauce, etc. The higher up the mountain you trek, you’ll risk losing your appetite and it’s imperative that you keep eating to help fuel your body sufficiently. Having some of your favourite foods and condiments will really help this. Though don’t go too crazy as please remember your weight limit for your kit bag is 15kgs.
STAYING SAFE – PERSONAL FIRST AID KIT
Below is a guide of what to include in your personal first aid kit.
- Any personal medication/s
- Acetazolamide (Brand Name: Diamox): this is a “water pill” (diuretic) used to prevent and reduce the symptoms of altitude sickness. If you’re planning to take Diamox on the trek, we strongly recommend you speak with your GP, Consultant or Travel Doctor beforehand. The dose is 125mg Acetazolamide (Diamox) twice daily (morning and afternoon). We recommend you consider trialling the use of Diamox at home at sea level prior to your trek so you are aware of the side effects and also whether this drug is suitable for you under the guidance of your GP or Travel Consultant. Common side effects of Diamox: increased urine output (it is a diuretic); tingling in fingers/toes, facial flushing and altered taste, especially of carbonated drinks.
- If are allergic to sulphonamide antibiotics you may also be allergic to acetazolamide (Diamox) and it may therefore be inadvisable to take this drug.
- Inflammation: Ibuprofen
- Headaches: ibuprofenand paracetamol
- Anti-sickness medicine, such as promethazine, for nausea
- Cough lozenges
- Blister plasters and a variety of plasters
- Rock tape or similar, for blister prevention and/or support
- Antiseptic cream
- Wound dressing
- Triangular bandage
- Diarrhoea treatment
- Rehydration satchels
- Expedition plus insect repellent
- Bug bite relief cream
- Foot powder. Looking after your feet is essential. For some top tips, check out Fixing Your Feet
- Anti-inflammatory tablets
- Antihistamine tablets
- Multi-vitamins
- Dextrose tablets
- Knee or ankle support if you experience knee or ankle problems
- Safety pins
- Duct tape (wrap some around your drinking bottle and trekking poles so you don’t need to bring the whole roll)
Dental check up – we recommend having a dental check-up before your trip. Fillings can be an issue at altitude if there is an air-pocket left in the gap
PACK YOUR SANITY
This is a tough trek and every member of your group will be stepping outside their comfort zone, whether it’s trekking at altitude, multi-day trekking, camping or just being away from family. You’re all in it together, so please be considerate, empathetic and supportive. A simple pat on the back can mean the world to someone and really make a difference to their trek. In order to help yourself and try keeping your sanity intact, here’s a few suggestions:
- Ipod – you might like to listen to music during the long, mentally challenging periods of summit night. We recommend only using one earbud so you’re still aware of what’s happening around you. Hearing songs after that bring back memories of your trek is pretty awesome.
- Putting your boots back on just to walk to dinner or the toilet is a faff, so bring an alternative pair to wear here ie. crocs or trainers. Something that’s light, easy to slip on and can deal with getting wet.
- A solar panel charger. Hang it on your bag and let the sun charge your electronic goods during the day.
- Invest in a waterproof / hard cover for your mobile phone.
- Bring a Buff (or 3)– a brilliant multipurpose tool that can act as a scarf, face mask, head band, sweat band etc and protect you from the wind, dust and sun. If you struggle with toilet spells, have a buff that’s been heavily pre-sprayed with your favourite perfume so you can pull this up over your nose before business.
- Mark all your personal kit clearly or tie something colourful on to it, as no doubt there will be others with similar items.
- Ensure you luggage has your name tags clearly displayed.
- Think light and small wherever possible.
- Test and train in your kit so you become familiar with any shortfalls, rubbing issues, breathability, quick drying ability, etc.
- Use your down-jacket as a pillow. Stuff it inside your sleeping bag cover.
- Ensure you have a full length sleeping mat.
- Put head torch and any electronics in sleeping bag at night to keep them warm and you know where they are when you need a midnight pee.
- Bring a pee bottle for camping (though ensure you know which is your pee bottle and which is your drink bottle)!
- Sleep with your head at the highest point of the tent and place your kit bag at the foot of your bed to prevent you from sliding down the tent. Remember, you’re sleeping on a mountain and not a flat surface. The camp crew will do their best to set up the tents on the best ground available, though quite often this is really restricted, especially higher on the mountain.
- Bring ear plugs for camping.
BONUS TIP:
Obviously, you won’t need cash during your trek, but make sure you carry it with you for the first and final day! It’s best to have USD for tips for your local crew at the end of the trek. We recommend approximately $US200-$US250 for this. Please don’t give any tips directly to any crew members to ensure everyone is fairly treated and tips are fairly distributed. This also applies with kit donations. You may also wish to have some spare cash to buy any last minute items at the entry gate or any local souvenirs at the exit gate to the National Park.
TRAVEL DOCUMENTS
Store your important documents safely and in water-proof bag. Remember to bring:
- Passport
- E-Visa
- Flight tickets
- Travel insurance policy and emergency number
- Debit/credit cards
- Cash – US dollars (small denominations) and Tanzanian shillings.
KIT HIRE
If you feel that your Kilimanjaro trek may only be a once in a lifetime adventure and you don’t see yourself clambering up any more mountains or embarking on any more extreme multi-day treks, then hiring some of the gear is a good idea. We’ve teamed up with Expedition Kit Hire and the owner, Stu, can help you with hiring the right kit for mountain trek be it a sleeping bag, down jacket, base layers, kit bags, water-proofs, you name it. And all his kit is high quality stuff too.
When you join Adventurous Ewe, we’ll provide you with an exclusive discount code if you’re wishing to hire any item/s from Expedition Kit Hire. https://www.expeditionkithire.co.uk/contact1.html
GREEN TRAVEL TIPS
To help you travel more responsibily, please find below some friendly tips which can help make a difference:
- Remove and recycle – remove as much packaging that you can from any new items or food packaging and recycle this before departure. This reduces the amount of ‘rubbish’ that we can taking across the globe to Tanzania who may struggle with recycling such rubbish
- As of June 2019, plastic bags are not allowed in Tanzania, as the country steps up in the global movement against single plastic use. Visitors must avoid carrying or using plastic carrier bags for items in their suitcase or in their hand luggage. However, ziplock bags specifically used to carry toiletries are permitted as they are expected to remain the permanent possession of visitors and to not be disposed of in Tanzania.
- Don’t buy bottled water. Instead, bring a reusable drink bottle and bladder (ie. Playtpus or Camelbak). You can upgrade your reusable bottle to one with an integrated filtration system or carry purification tablets. When travelling to Kilimanjaro with Adventurous Ewe, you will be provided a free Water-to-Go bottle for this purpose
- Avoid using plastic bags by packing light reusable bags.
- Do you tend to throw your wet or dirty clothes in a plastic bag when you travel? Why not opt for a dry bag instead, which is durable and You can also bring along a textile bag for the occasional shopping splurge.
- Switch your travel toothbrush for a biodegradable bamboo one.
- Don’t use a disposable razor. Instead, switch to a safety razor with a replaceable blade. Just remember to pack this in your check-in not carry-on! When you think about it, disposable razors are packed in a layer of plastic, coupled with a plastic handle and guard, and are only designed for a couple of uses.
- Don’t buy travel size toiletries every time you travel. Steer clear from purchasing small sized liquid soaps, shampoos and conditioners whenever you take a trip. Instead, reuse and refill the small bottles you already have with the products you have at home and simply label the contents. Otherwise, get a set of reusable containers to refill forever – you can find glass and metal alternatives to plastic travel containers as well.
- Help clean wilderness trails of plastic. By collecting rubbish on trails and bringing it back to camp for proper disposal, you are helping beat plastic pollution on Kilimanjaro.
We hope you’ve found this blog on Packing Tips for Kilimanjaro helpful with your preparations, whether you’re still considering taking on the highest free standing mountain in the world or you’re all booked to hike to the ‘Roof of Africa’. We wish you well with your Kili endeavours and if you have any questions about this blog or anything at all Kili related, please feel free to get in touch. Between us we have been fortunate to climb this incredible mountain over 25 times and feel privledged to step foot on the slopes each and every time.
Asante sana,
Jim & Sue (& Moshi-the-mountain-dog)

